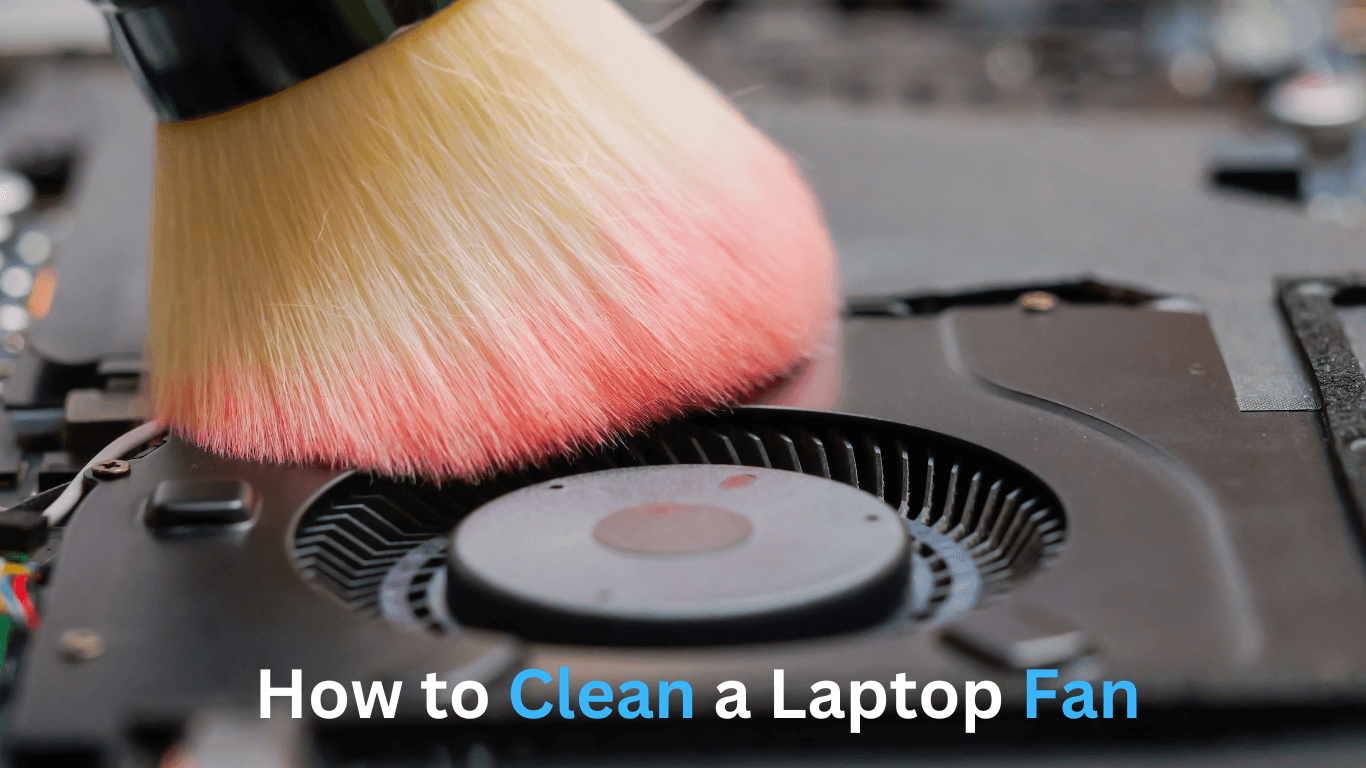
Is your laptop making strange noises and heating up more than usual? It might be time to clean your laptop fan. Over time, dust and dirt can build up on the fan, which is responsible for cooling your device. This guide will show you three methods to clean a laptop fan: using compressed air and without using compressed air and using vacuum.
Although cleaning your laptop fan might seem like a challenging task, doing so can significantly reduce the temperature of your laptop, providing a quieter and smoother performance.
Table of Contents
Method #1: How to Clean a Laptop Fan with Compressed Air
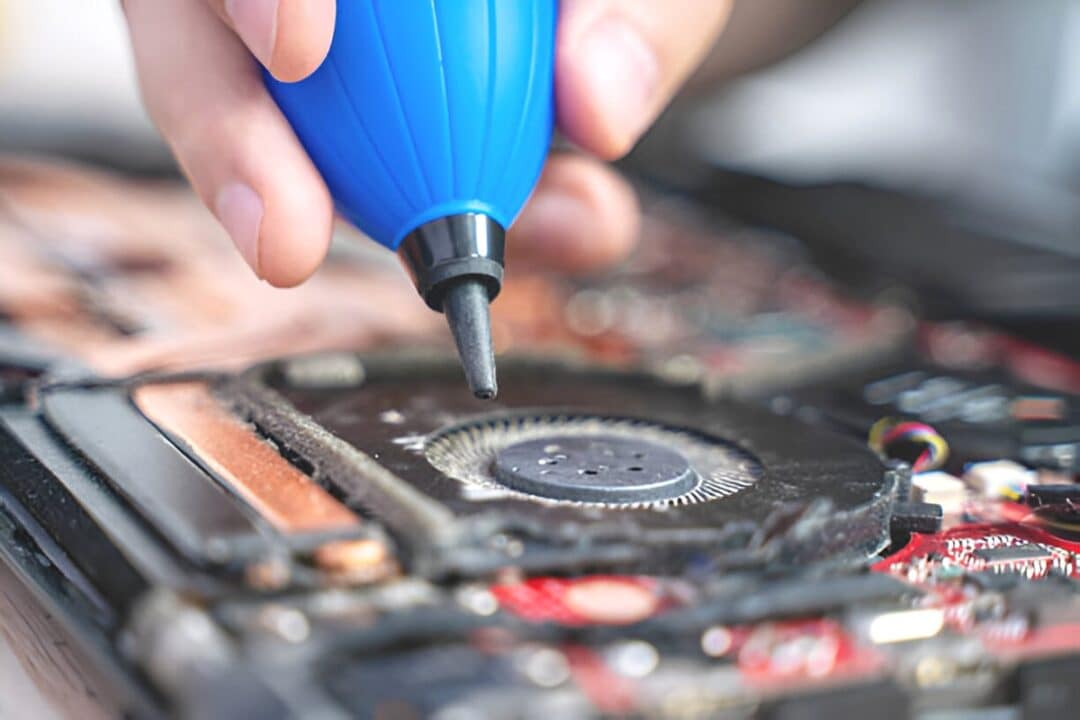
The easiest and most effective way to clean a laptop fan is by using compressed air. You’ll need to locate the air vents and use a can of compressed air to blow the dust out.
Step 1: Power Off and Unplug the Laptop
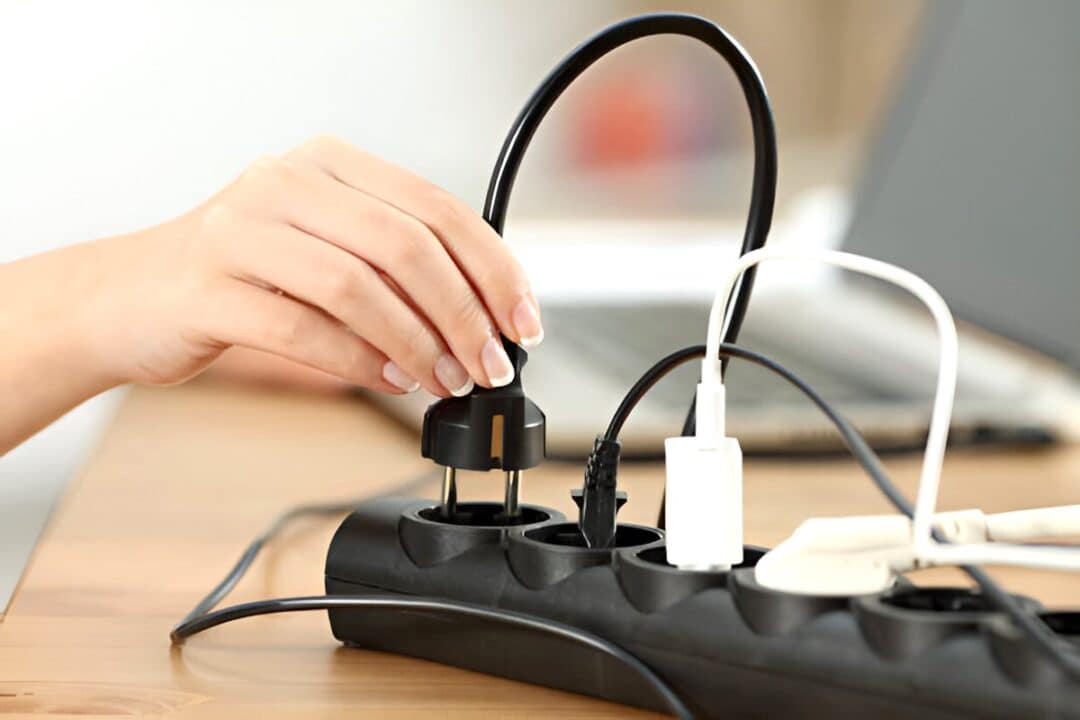
Before anything else, make sure to completely shut down your laptop and unplug it from the power source. This ensures your safety, as working on a plugged-in device increases the risk of electric shock.
Step 2: Locate the Laptop’s Vents and Use Compressed Air
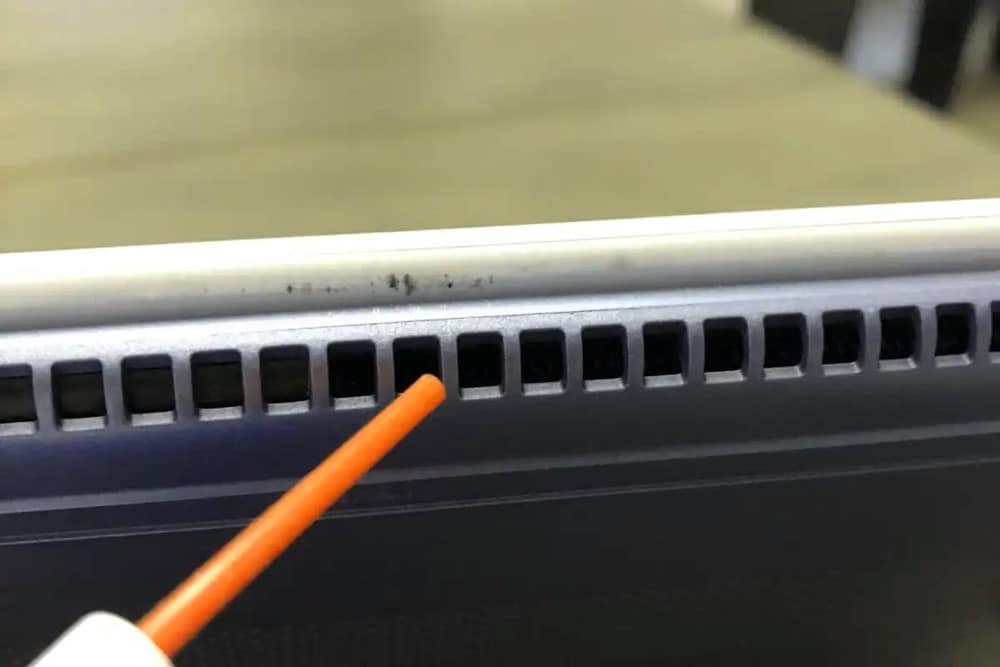
Once your laptop is off, find the air vents. These are usually on the underside of the laptop, though their location may vary depending on the model. Once located, point the nozzle of the compressed air can towards the vents. Hold the can upright to avoid spraying any liquid into the laptop.
Tip: If you can see the fan blades through the vents, aim the compressed air directly at them.
Step 3: Spray the Compressed Air in Short Bursts
Press down on the can’s nozzle in short, controlled bursts (about one second each). Avoid holding the nozzle down for too long, as this could cause condensation inside the laptop. The quick bursts will help remove any dust or debris trapped in the vents.
Step 4: Clear the Exhaust and Intake Vents
To ensure a thorough clean, spray compressed air through both the intake and exhaust vents. If your laptop is particularly dusty, you might also want to blow air through the side ventilation openings, which helps dislodge stubborn dust.
Method #2: How to Clean a Laptop Fan Without Compressed Air
If you don’t have compressed air handy, don’t worry—you can still clean your laptop fan manually. Follow these steps for a deeper clean without using compressed air.
Step 1: Power off, Unplug, and Remove the Battery
Safety first! Be sure your laptop is turned off, unplugged, and the battery is removed if possible. This prevents any electric shocks while you’re working on the device.
Step 2: Open the Bottom Panel of the Laptop
Turn your laptop over and locate the screws that secure the bottom panel. Use a small screwdriver designed for electronics to carefully remove the screws and take off the panel.
Note: Keep the screws in a safe place. Some laptops might have a release switch instead of screws, so check your laptop model’s manual for guidance.
Step 3: Clean the Laptop Fan with a Lint-Free Cloth
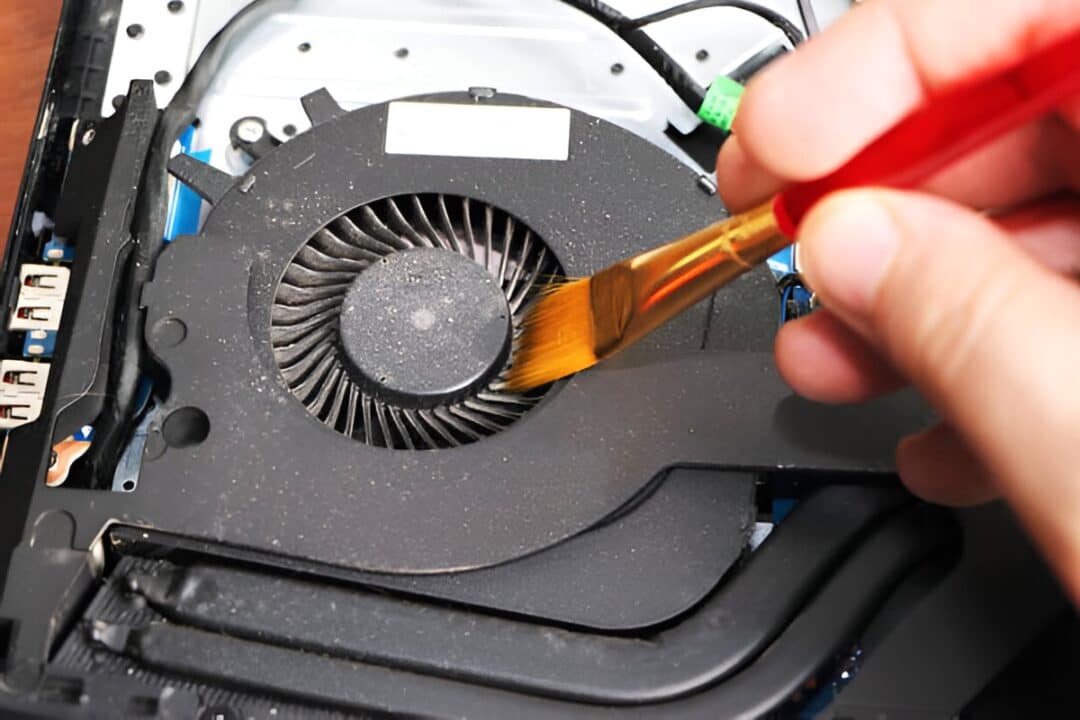
Once the panel is removed, you should see the fan, typically located in one of the back corners. Use a lint-free cloth to wipe away any visible dust on the fan’s surface. If you’re comfortable, you can also remove the fan with a screwdriver for more detailed cleaning.
Step 4: Use a Soft Brush to Clean the Fan Blades
Take a laptop cleaning brush or a small, soft brush and gently clean between the fan blades. Move the brush around the protective plate and fan blades to remove trapped dust. If needed, you can unscrew the protective cover to reach the fan more easily.
Step 5: Reassemble the Laptop
Once you’ve finished cleaning, it’s time to put everything back together. Reattach the fan if you removed it, then place the bottom panel back on the laptop. Ensure the screw holes are lined up and fasten the screws tightly.
